Disaster Response - Tips - Change GlobalProtect Portal.
Changing Global Protect Portal
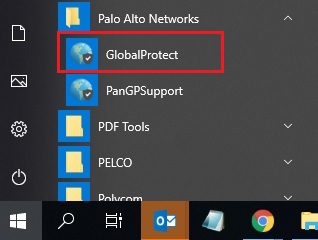
- From the Start Menu
 , Open Palo Alto Networks -> GlobalProtect to make the GlobalProtect window display
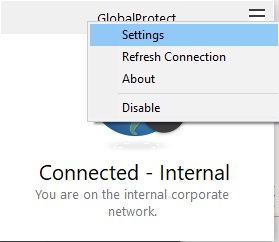
- On the GlobalProtect window, click on the three lines on the top right and choose Settings
- On the General Tab, choose the ‘Add’ button and input the new Portal Name (provided to you in a separate email) into the field
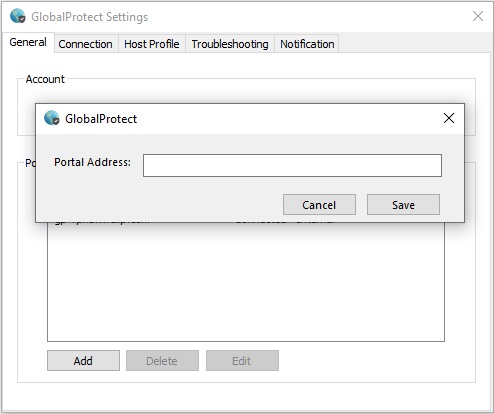
- Click the Save button and close the GlobalProtect Settings Window
- Open the GlobalProtect Window again through Start -> Palo Alto Networks -> GlobalProtect
- In the Drop-Down List – choose the new portal name
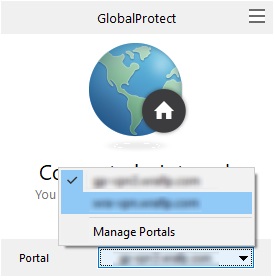
- GlobalProtect will start connecting to the new portal right away.
- Input your WRA username and password in the correct fields (The ‘wra\’ prefix or ‘@wrallp.com’ suffix is NOT needed in the username field)
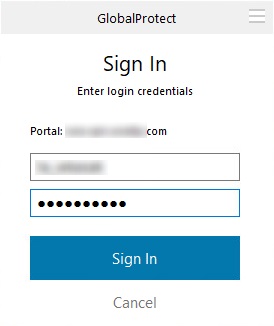
- Once the correct credentials have been typed in, click Sign In and wait for the ‘Connected’ message to display.
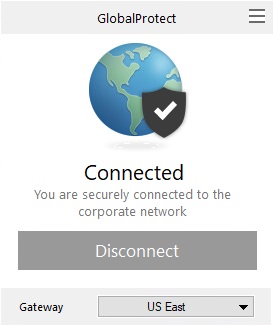
- Once the ‘Connected’ message is displayed, you have now successfully changed GlobalProtect VPN Portals and are ready to access WRA network resources as assigned to your account.
Go to Top